Установка ZET 9 Pro/Geo
Вы можете установить профессиональную модификацию программы одним из следующих способов:
Обновление ZET 9 Lite до Pro\Geo через Интернет
Для автоматического обновления ZET 9 Lite до профессиональной модификации ZET 9 Pro или Geo выполните следующее (Интернет должен быть подключен):
- Запустите программу ZET 9 Lite (или Pro, если обновляете Pro до Geo).
- В главном меню программы нажмите "Справка" и выберите пункт: "Обновление ZET".
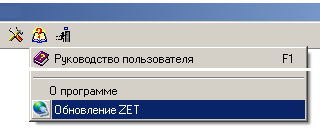
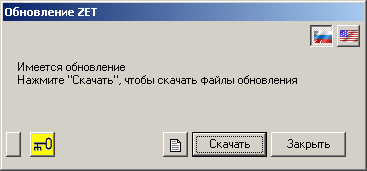
Появится следующее окно:
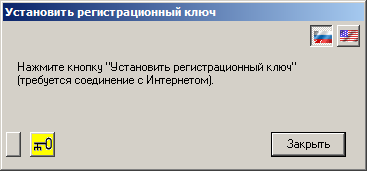
- Нажмите кнопку с изображением ключа. Появится следующее:
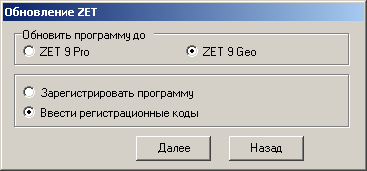
- Выберите оплаченную модификацию программы: Pro или Geo.
Выберите опцию "Ввести регистрационные коды".
Нажмите кнопку "Далее", появится следующая панель:
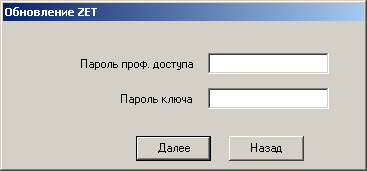
- Введите пароль профессионального доступа и пароль ключа, и нажмите кнопку "Далее".
Используйте функции "Копировать", "Вставить" прямо из регистрационного письма.
(Если пароли введены неверно, то появится сообщение "неверный пароль". Убедитесь что нет лишнего "пробела" до или после символов пароля.)
(Если появится сообщение "выбрана неверная модификация Pro/Geo", это означает что пункт 4 выполнен некорректно.)
- Нажмите кнопку "Скачать".
Появятся сообщения о процессе скачивания файлов, сообщение об успешной установке обновления и диалог подтверждения перезапуска ZET:
(Если в процессе скачивания файлов "все зависло" и процесс не идет или выходит ошибка о невозможности автоматического обновления, то отключите временно антивирус и защитник Windows и вернитесь к начальному пункту установки)
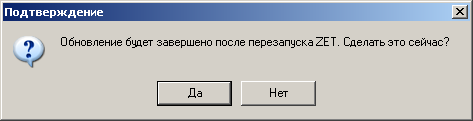
- Нажмите "Да". Программа закроется. Через несколько секунд появится окошко с надписью "Выполнение ...", а затем запустится программа ZET уже в модификации Pro или Geo. На стартовой заставке будут отображены данные пользователя.
- [Только для версии "Geo"] Скачайте по ссылке из регистрационного письма рельефную географическую карту. При распаковке архива укажите папку, где находилась программа ZET 9 Lite, так как после обновления именно в этой папке теперь находится проф. версия программы (обычно папка так и называется "Zet 9 Lite" или "Zet 9").
Установка ZET из профессионального дистрибутива
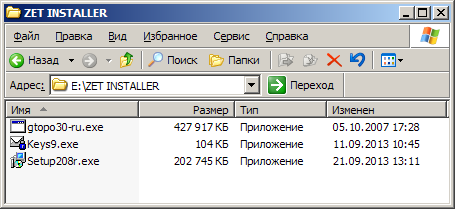
- Скачайте дистрибутив профессиональной модификации ZET: "Setup254rn" (по ссылке из регистрационного письма).
- Скачайте файл Вашего ключа (по ссылке из регистрационного письма) и поместите в папку, в которой находится дистрибутив ZET.
(Если при скачивании файла-ключа антивирус или защитник Windows сообщает о вирусе - это стандартная реакция защитных систем на незнакомый "exe"- файл. Никаких вирусов в программе нет. Временно отключите антивирус или защитник Windows для корректной установки программы. Потом их можно активировать обратно.)
- Переименуйте файл ключа в "Keys9". Это делается так:
- вызовите меню этого файла, щёлкнув по нему правой кнопкой мыши;
- выберите "Переименовать";
- введите "Keys9" ("exe" - расширение файла, не часть имени);
- нажмите Enter.
- [Только для версии "Geo"] Скачайте дистрибутив рельефной географической карты: "gtopo30-ru" (по ссылке из регистрационного письма) и поместите в папку, в которой находится дистрибутив ZET.
(для установки потребуется 3,5 ГБ свободного места на жёстком диске)
- Запустите установку дистрибутива из файла "Setup254rn".
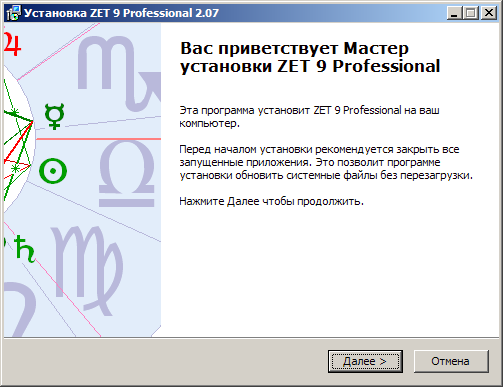
- Нажмите "Далее".
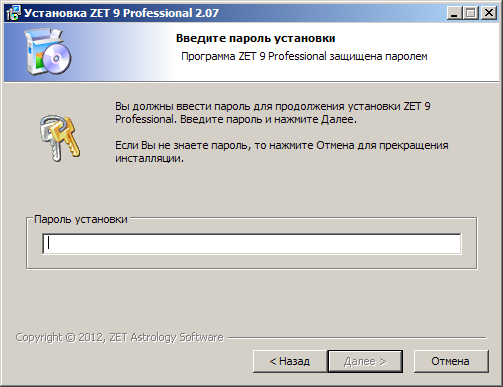
- Введите пароль профессионального доступа (пароль установки), и нажмите кнопку "Далее".
Используйте функции "Копировать", "Вставить" прямо из регистрационного письма.
(Если пароль введен неверно, то появится сообщение "неверный пароль". Убедитесь что нет лишнего "пробела" до или после символов пароля.)
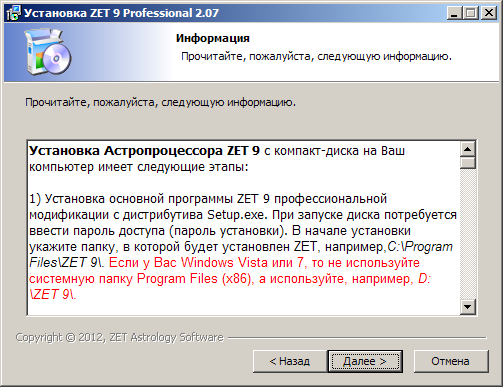
- Прочитайте, что написано в инструкции. Нажмите "Далее".
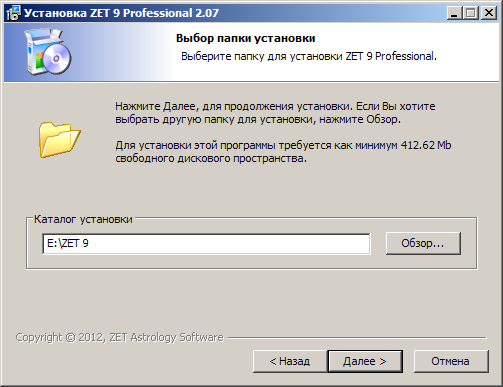
- Выберите папку (каталог установки), к которую хотите установить ZET. Нажмите "Далее".
(Это не должна быть та же папка, в которой установлена ZET 9 Lite, иначе Ваши данные будут потеряны)
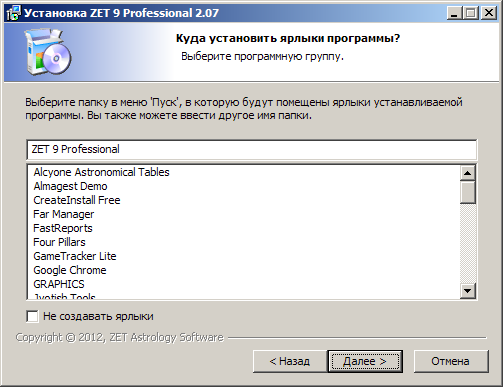
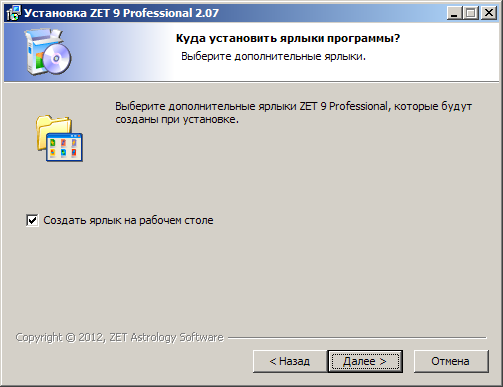
- Для автоматического создания ярлыка на рабочем столе поставьте соответствующую галочку. Нажмите "Далее".
- Нажмите "Далее".
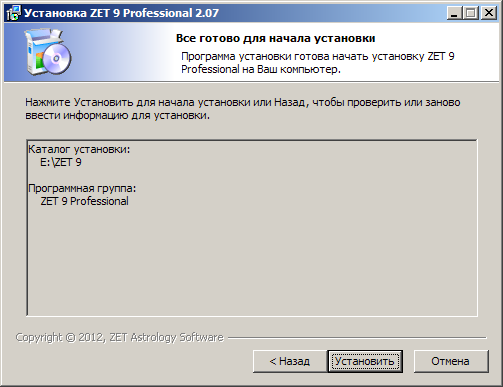
- Нажмите "Установить".
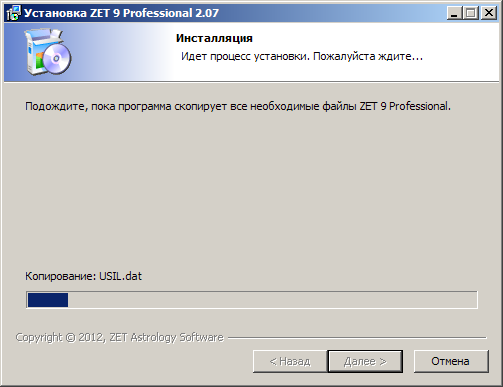
Ожидайте, идёт процесс установки. По завершению появится окно ввода пароля ключа:
(Если процесс "завис" на этапе установки шрифта с выдачей соответствующего сообщения, то нажмите кнопку "Пропустить" в окне этого сообщения)
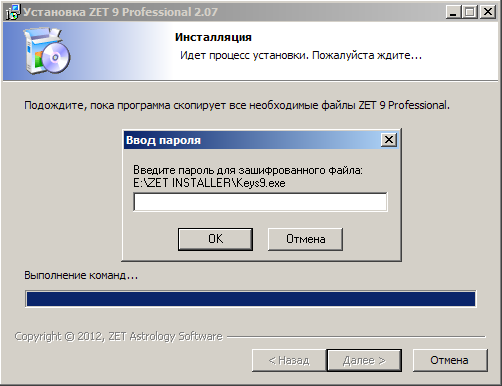
Введите пароль Вашего ключа.
Используйте функции "Копировать", "Вставить" прямо из регистрационного письма.
(Если пароль введен неверно, то появится сообщение "неверный пароль". Убедитесь что нет лишнего "пробела" до или после символов пароля.)
Нажмите "ОК": должно мигнуть чёрное окошко, что означает что ключ установился.
(Если же вместо окна ввода пароля появится окно с сообщением "Не удаётся найти ...", это значит, что либо пункт 3 не выполнен, либо выполнен неверно.)
- Далее будет выполняться установка рельефной географической карты (топографическая карта):
- Если у Вас модификация "Pro": то появится сообщение об отсутствующем файле "gtopo30-ru", игнорируйте его - нажмите кнопку "OK" и установка продолжиться (см. пункт 17)
- Если у Вас модификация "Geo", то ждите (около минуты) приглашения к следующему действию: (пункт 4 должен быть выполнен правильно)
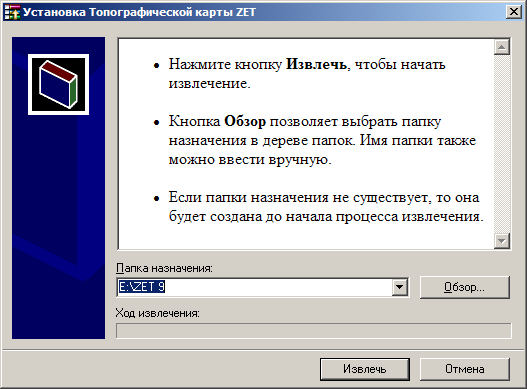
- В окне диалога установки рельефной географической карты (топокарты) укажите путь к папке, в которую Вы устанавливаете ZET 9. Нажмите "Извлечь".
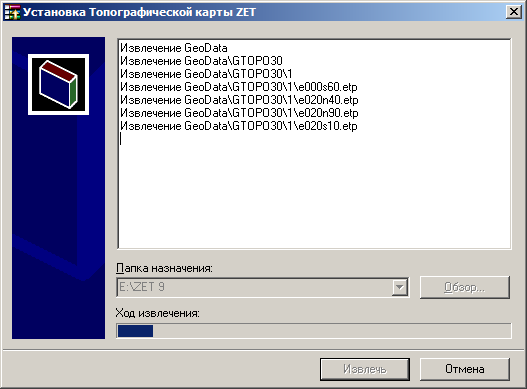
Ожидайте пока идёт процесс установки. По окончанию процесса это окно само закроется.
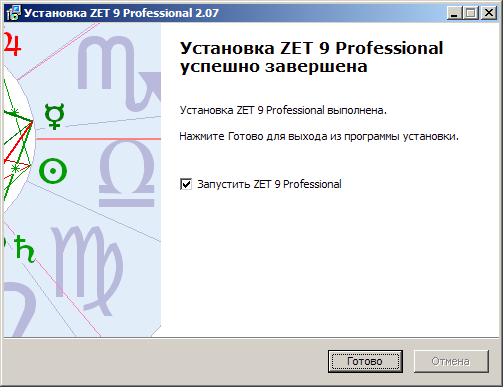
- Нажмите "Готово". На стартовой заставке будут отображены данные пользователя.
- Запустите установленную программу и обновите программу до версии 9.2.63, меню: "Справка", выбрать пункт "Обновление ZET", нажать "Проверить", далее будет найдено обновление, нажать "Скачать" (Интернет должен быть подключен).
(Если нужна версия программа именно ZET 9.2.54: необходимо установить обновления временных таблиц)
Запуск ZET
Если при попытке запуска профессиональной модификации программы появляется сообщение "Error №17" (или с требованием установить ключ, хотя он установлен) и программа не запускается, то смотрите раздел FAQ.